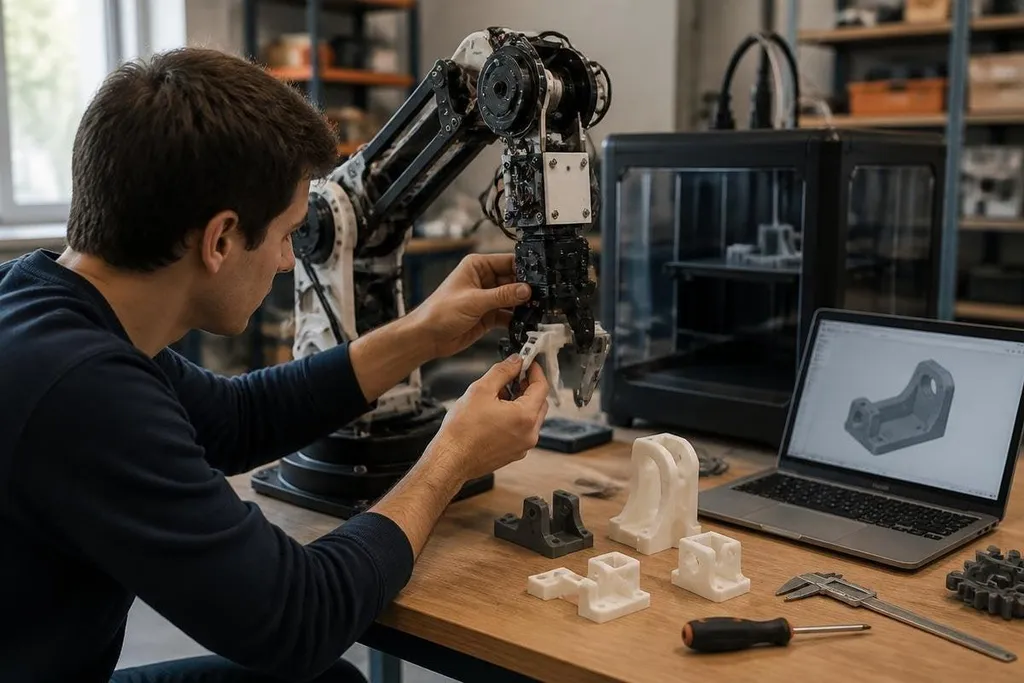
A robot arm can need a new bracket after one design review. With 3D printing, a team can change the computer-aided design file, print the part, and test the fit without waiting for a machine shop.
For robot developers, that shortens the path between an idea and a working machine. It also changes which parts teams can make themselves, from sensor mounts to custom grippers.
- Faster checks of fit and movement
- Custom parts for one robot or task
- Lower cost for early design changes
From drawing to working part
Most robot development starts with parts that must fit around motors, cables, sensors, batteries, and control boards. Change one part, and several others may need changes too. Physical checks still matter beside computer models.
A 3D printer turns a digital design into a physical part by adding material layer by layer. Fused filament fabrication, one common method, heats plastic and places it through a small nozzle. Other printers use resin or powdered material, with different levels of detail and strength.
This makes early testing easier. A team can print a rough sensor mount, attach it to the robot, and check cable paths or camera views before choosing a final material. The printed part may not be suitable for long service, but it can answer a design question quickly.
That question might be simple: does the gripper reach the object without hitting the arm? A physical check can expose a problem that looks acceptable on a screen.
Parts built for one task
Robots often need parts that do not exist in a standard catalog. A warehouse arm may need a gripper shaped for one package. A research robot may need a bracket for an unusual sensor position. A small mobile robot may need a cover that protects a board while leaving its ports open.
3D printing suits these jobs because the design can match the robot instead of forcing the robot to fit a standard part. Internal channels can guide cables, mounting holes can follow an existing frame, and several small pieces can sometimes become one printed part.
The benefit reaches beyond the robot body. Teams can print assembly jigs, drill guides, test mounts, and protective covers. These items help technicians place parts in the same position during repeated checks, which makes test results easier to compare.
Printing a fixture beside the test bench shortens the wait between a design change and the next trial. Dated robot development reporting can help you compare the printed part with the task it supports before the method meets its first hard limit.
Where the method stops working
Printed plastic has limits. Heat can soften some materials, repeated loads can split a part along its layer lines, and sunlight or chemicals can damage parts made for indoor testing.
A design that survives a short trial may fail after repeated motion. The print itself also needs care. Wall thickness, layer direction, infill, and support material affect the result.
A part may look correct but have weak points around screw holes or sharp corners. Threads printed into plastic can wear faster than metal threads, so inserts or separate fasteners may be needed.
That is why 3D printing does not remove the need for machining, molded plastic, sheet metal, or bought components. It gives teams another way to make parts, with a good fit for custom shapes and early changes. I’d use it first to answer design questions, then test the final part under the loads, heat, and motion it will face.
A practical decision guide
Use this check before sending a robot part to a printer:
- Check the load: identify the force, torque, and repeated motion the part must handle.
- Choose the material: match plastic, resin, or metal to heat, wear, chemicals, and impact.
- Set the print direction: place layers so the main force does not pull them apart.
- Protect the fasteners: add metal inserts when screws will be removed many times.
- Test the real task: fit the part to the robot and run the movement it must perform.
- Plan the next build: switch to another process when the design needs many identical parts.
The next step is usually a mixed process. A team may print the housing, buy the motor, machine a shaft, and use metal inserts where the load demands them. That combination lets each manufacturing method handle the part it suits best.
3D printing is changing robot development because it puts more physical design work close to the people testing the machine. The lasting value is not the printer itself; it is the shorter loop between a design decision and proof that the robot can perform the task.